My entries for the #BringYourTastiestBowl Challenge
I know a lot of people with a sweet tooth who always keep struggling for a balance between their palate and their calorie count. And, when it comes to festivals, no one can stop at just one! Diwali, Holi, Christmas, even Navratras have become a reason to gorge at sweetmeats .. So when I read about Quaker’s #BringYourTastiestBowl challenge I wondered if I could try my hand at not only experimenting at healthier versions of sweets served during festivals, but also may be win 50 lakhs .. 🙂 The contest is being judged by the ever popular Chef Vikas Khanna as well as people who vote for their favourite recipes.
As we know, Oats are a gluten free, rich source of fibre, which give energy to keep you going for a long time. Hence it is healthier to make Oats based versions of popular “unhealthy” dishes 🙂
So here are my versions of 2 very popular sweets – Mango Basil Oats phirni (diwali) and Oats Til laddoo (Lohri) for the “Bring your tastiest bowl challenge”
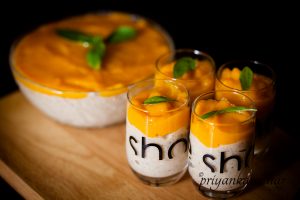
Mango Basil Oats Phirni
Phirni is a classic Indian rice pudding, similar to kheer, that is mostly consumed in north India on festive occasions like Diwali, Karwa Chauth etc. The dish is also consumed during Ramzan and prepared for the feasts at Muslim weddings and festivals like Id, among the Muslim communities of India, Bangladesh, Pakistan, and Afghanistan.
Here I am preparing my version of Phirni with Oats instead of rice. And I have given it a further twist by adding mango and Basil flavours to it. Without further ado, here’s the recipe.
Mango Basil Oats Phirni
Portion size : 1
Serves : 3-4
Cooking time : 30 minutes
Preparation time : 5 minutes
INGREDIENTS
- 1 litre Full cream milk
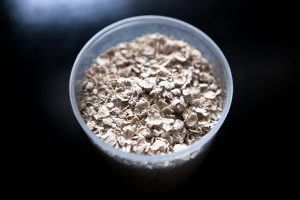
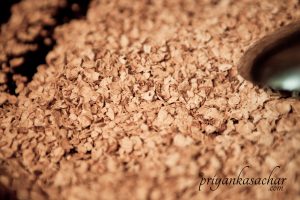
- 1 cup oats
- 2 Tbsp sugar or as required
- 18-20 almonds/badam, blanched, reserve a few for garnishing
- 6-7 cardamoms/hari elachi (crushed and powdered in a mortar-pestle)
- 2 Mangoes for mango puree
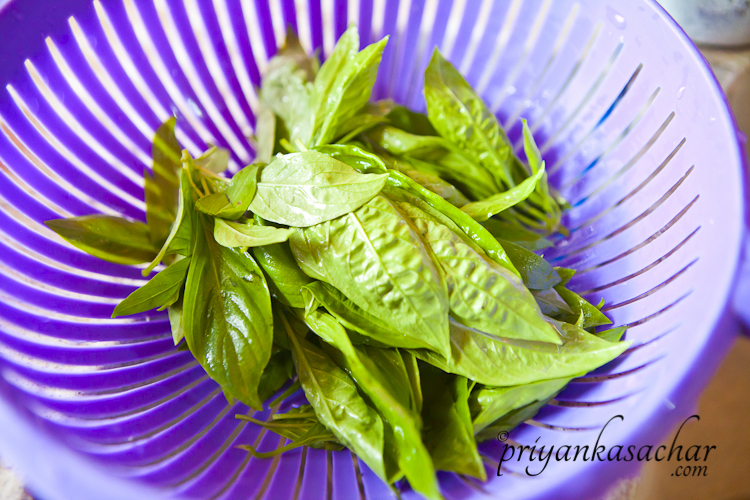
- Few leaves of Basil for garnishing
MeThod:
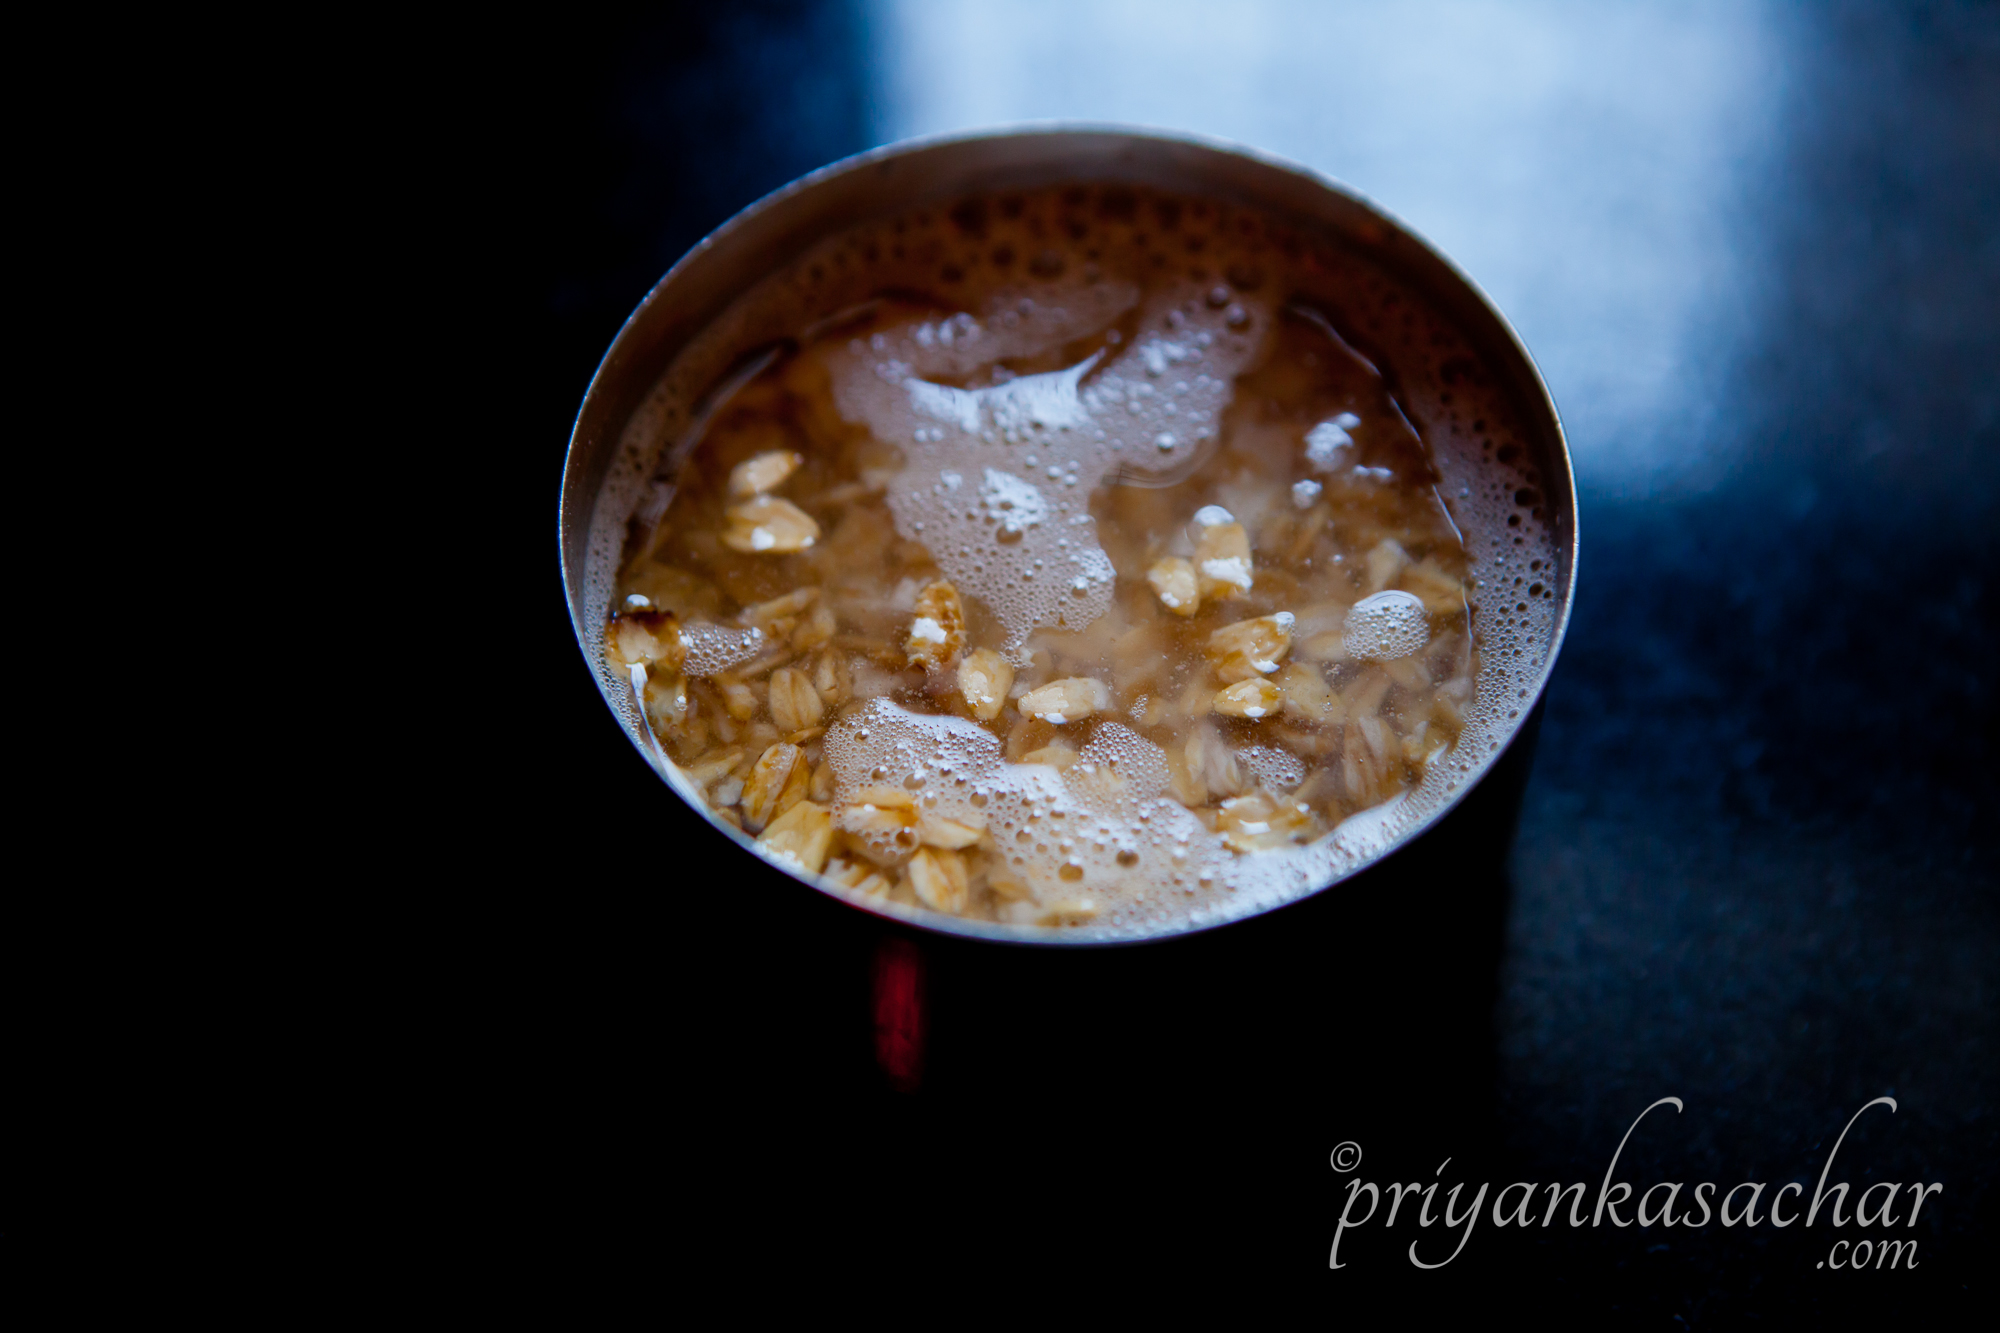
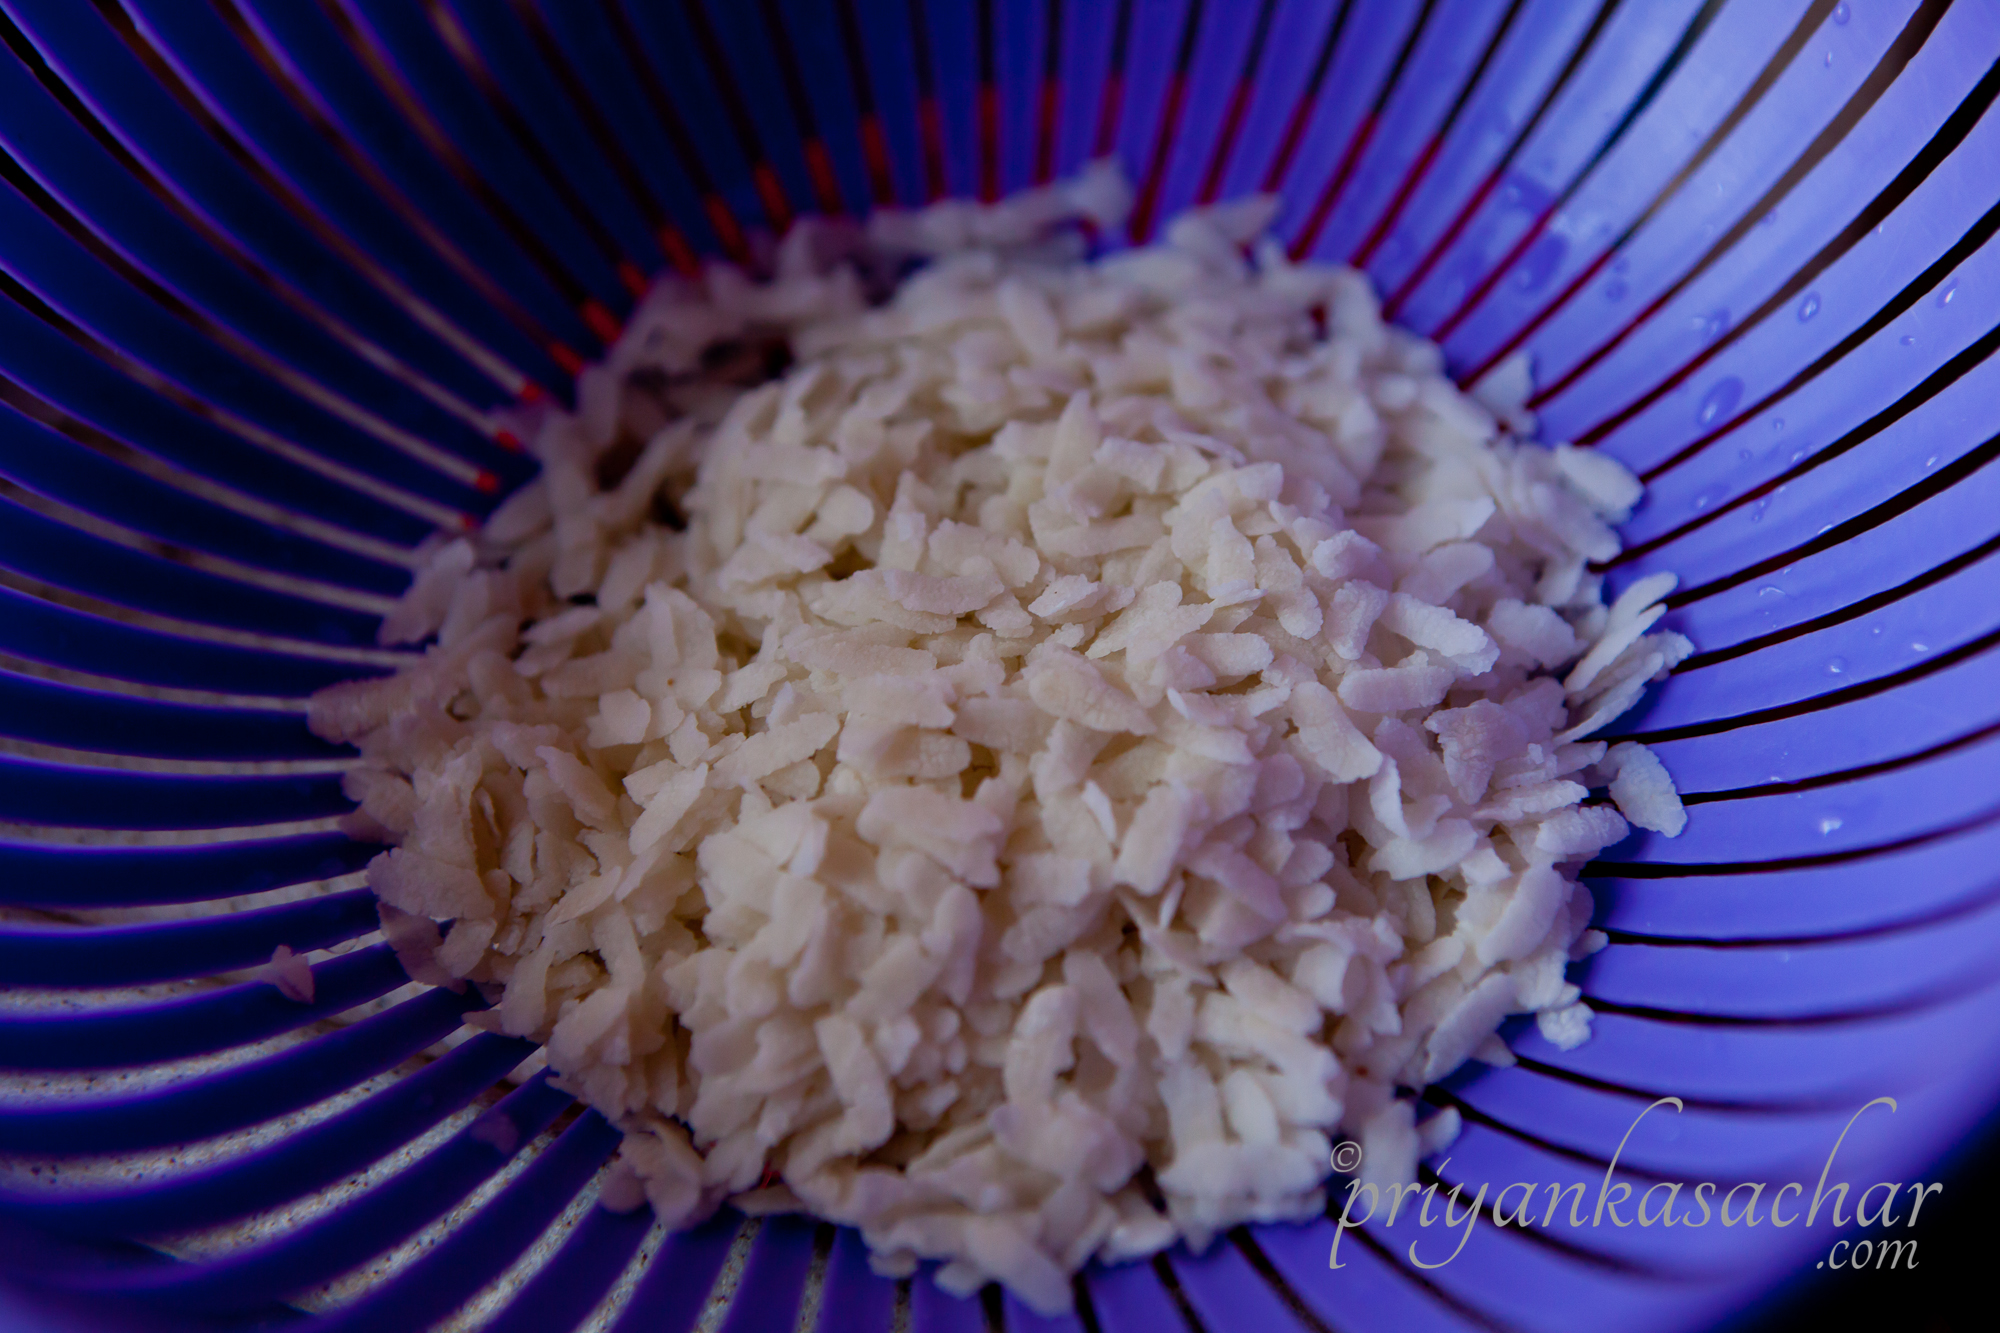
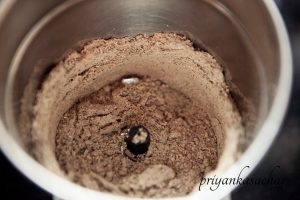
1. Grind the Oats in a dry grinder till it is fully powdered. Keep aside
2. Heat milk in a thick bottomed broad pan or sauce pan or kadai, let the milk come to a boil. Then lower the flame.
3. Add the powdered oats, stir and add sugar also.
4. On a low to medium flame cook the mixture without covering. Keep stirring at regular intevals.
5. Powder the cardamoms in a mortar-pestle. Discard the almond peels from blanched almonds.
6. When the oats are cooked and milk seems to be half the original quantity, add the almonds & cardamom powder.
7. Stir and cook for further till the phirni thickens.
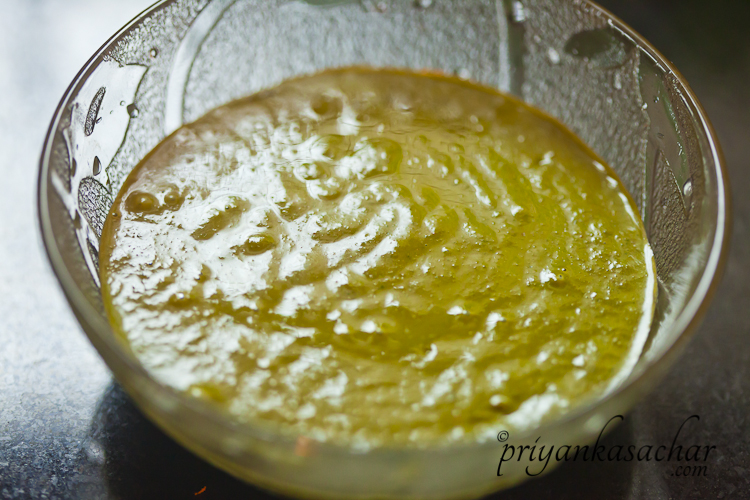
8. Take out the pulp of 2 mangoes and puree in a mixer.
9. Pour the phirni in serving bowls. Pour a layer of mango puree on top and refrigerate the Phirni.
10. Once cooled, garnish the phirni with basil leaves & serve.

Gluten Free, Vegan Oats Til Laddoo
Til or sesame laddoos are typically consumed on Lohri. These laddoos typically also have khoya or condensed milk. My version of Til laddoos is made with Oats & Gud (Jaggery). There is no need to add any ghee or oil because the sesame seeds exude enough oil for binding. The absence of white sugar makes this dish even healthier. And since there are no milk products in this, not only is it Vegan, it is also Gluten free because of Oats. So here’s the recipe.
Gluten Free, Vegan Oats Til Laddoo
Portion size : 1
Serves : 10
Cooking time : 5 minutes
Preparation time : 15 minutes
INGREDIENTS
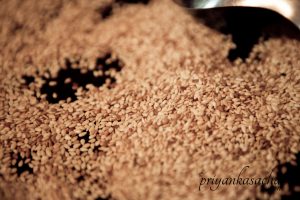
- 1 cup oats
- 1 cup sesame
- 1 cup grated Gud (jaggery)
- 3-4 cardamoms/hari elachi (crushed and powdered in a mortar-pestle)
MeThod:
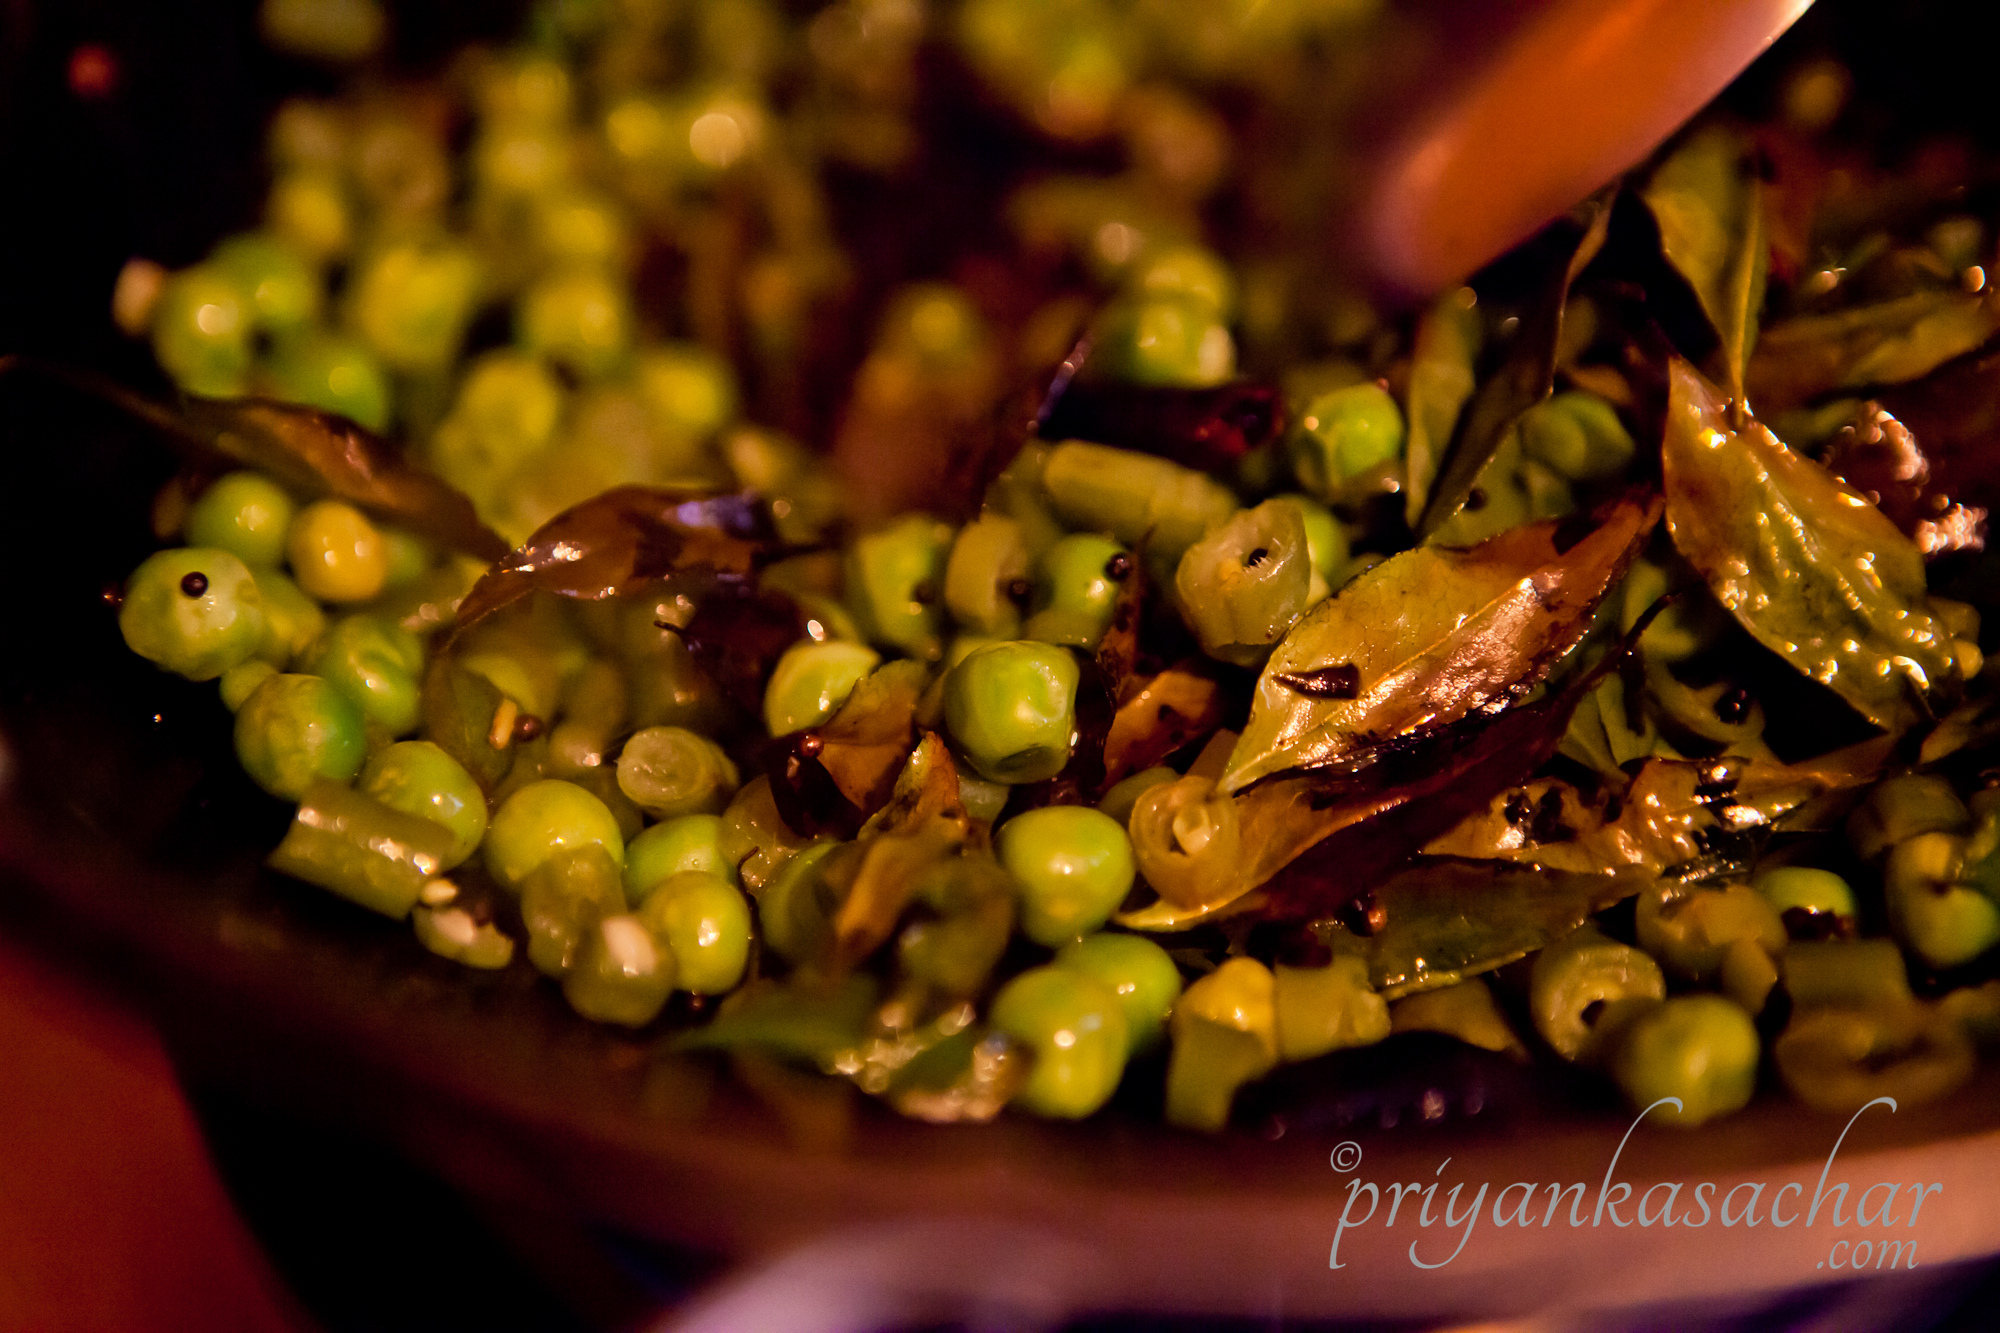
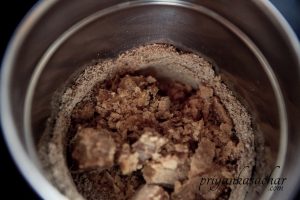
- On medium heat dry roast oat.
2. Similarly dry roast sesame seeds separately until golden.
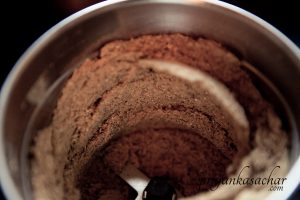
3. Cool them. Powder oats and sesame seeds in a mixer.
4. Add the jaggery & Cardamoms and again powder further.
5. Roll into balls while the mixture is fresh.
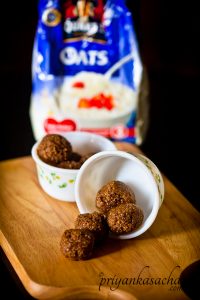
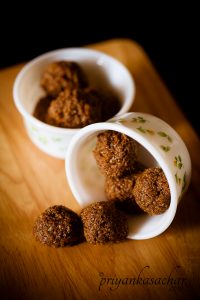
6. Store in an air tight jar.
Do try out the recipes and let me know if they tickled your tastebuds enough. Who knows you may even stand a chance to win INR 50 lakhs by participating with a unique entry!
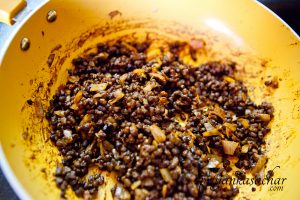
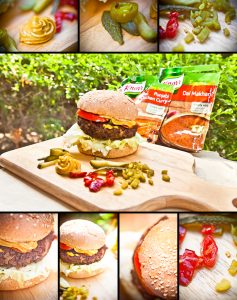
 3. Add the dal, half packet of Knorr Dal Makhni masala & just 2 spoons of water to mix it all well. Sprinkle some salt, but this masala already has salt, so be careful about how much you add. Let it cool and mash it completely.